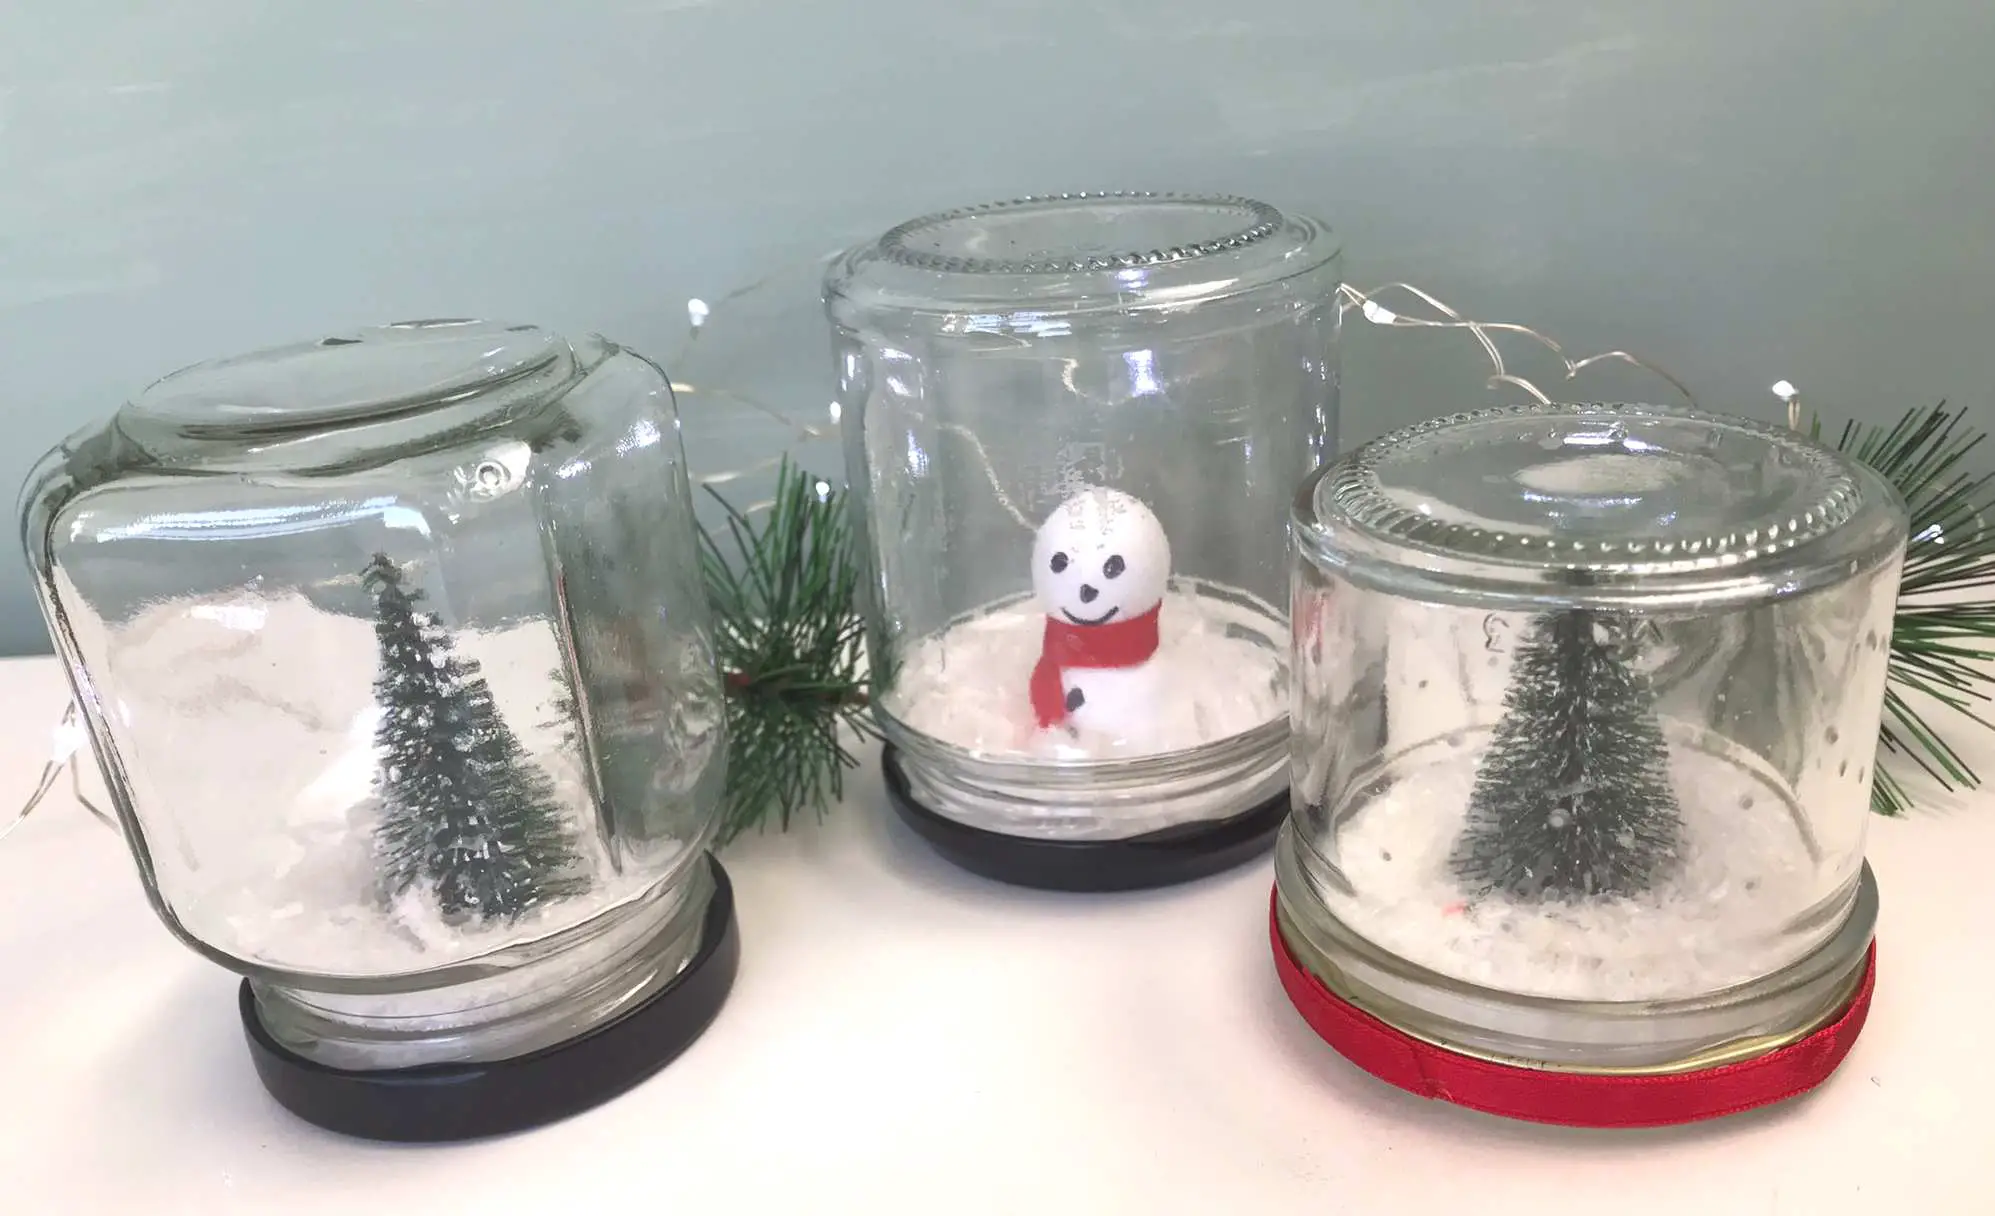
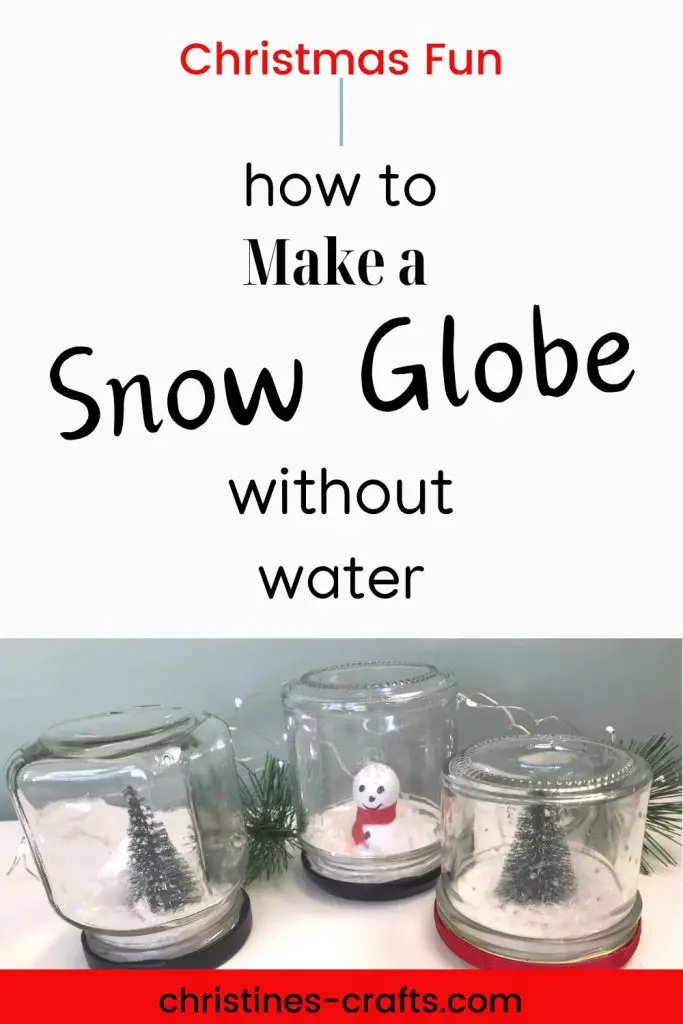
How to Make a Snow Globe (without water) – Upcycling Project!
As an Amazon Associate I earn from qualifying purchases
I love snow globes and thought it would be fun to make one really quickly and for free using items I already had at home! This is a great craft activity to do with kids as this is a snow globe without water. If you used plastic jars there would not even be the breaking glass risk.
So, if you want to make a DIY snow globe you are in the right place. You can follow along with the step by step instructions or watch the very short video tutorial.
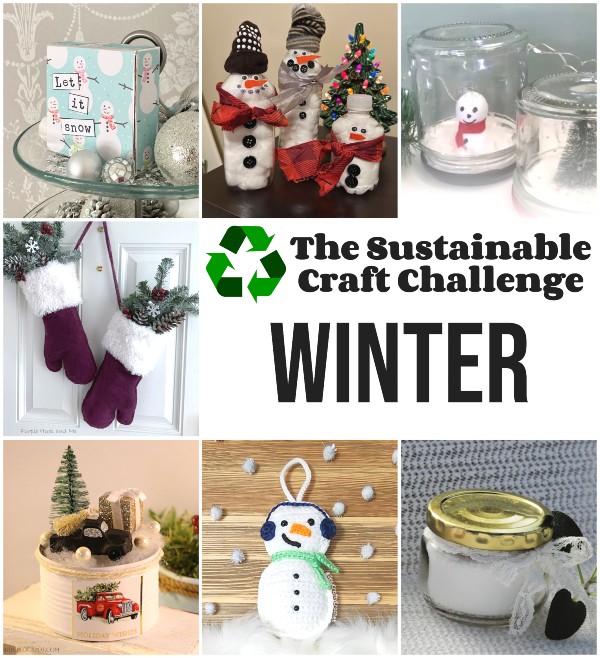
As this project reuses items from the home it is a great contribution to this month’s Sustainability Craft Challenge. The theme this month is winter and what could be more wintry than a snowy scene? At the end of the instructions you will find a list of all the great projects on the theme of winter. So check them out and get inspired.
What you need for this Snow Globe craft
- Old Clean Jar
- Glue (multi-purpose or hot melt)
- Cotton Wool
- Small Festive Items
- Fake Snow (or small polystyrene pieces)
- Optional Glitter
Video Tutorial for a Waterless Snow Globe
This video is also available on my YouTube channel.
Create a Scene in your DIY Christmas Snow Globe
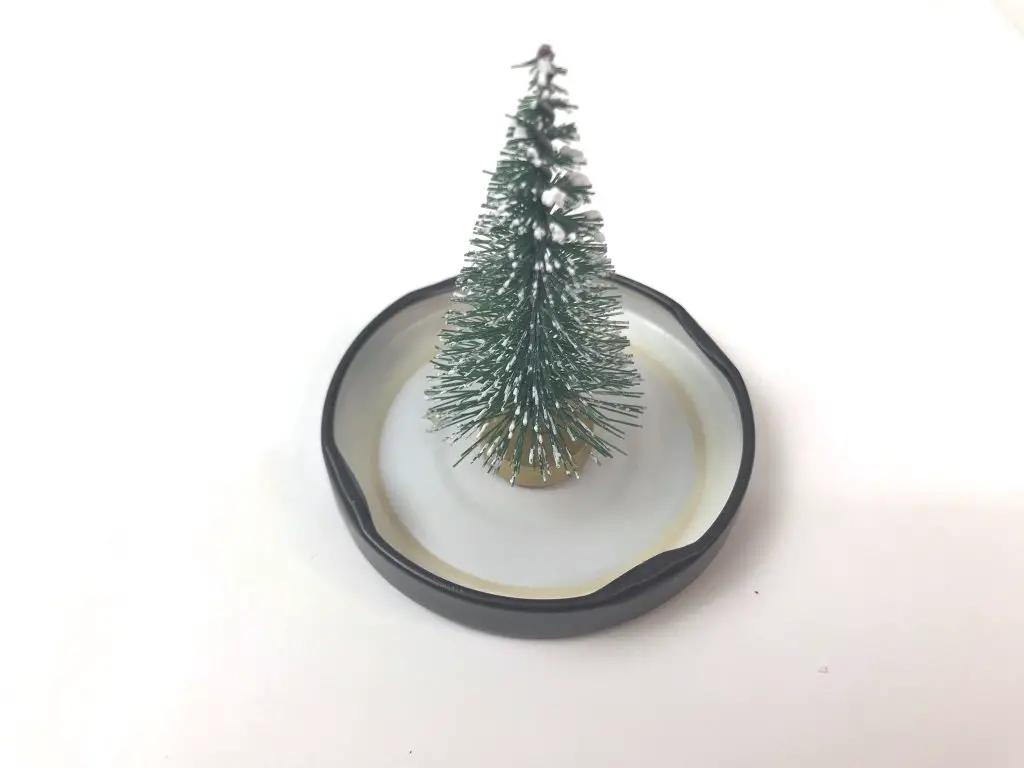
Choose what you would like to go in your snow globe. You can use any decorations you already have or how about some fake greenery or a small toy car / truck. You could add small flowers, etc. This is the really creative part so have a look around and get inspired.
Simply arrange your items on the inside of your jar lid and glue them in place once you are happy with them. It is worth checking that they fit in the jar and that you can screw the lid on before you glue anything!
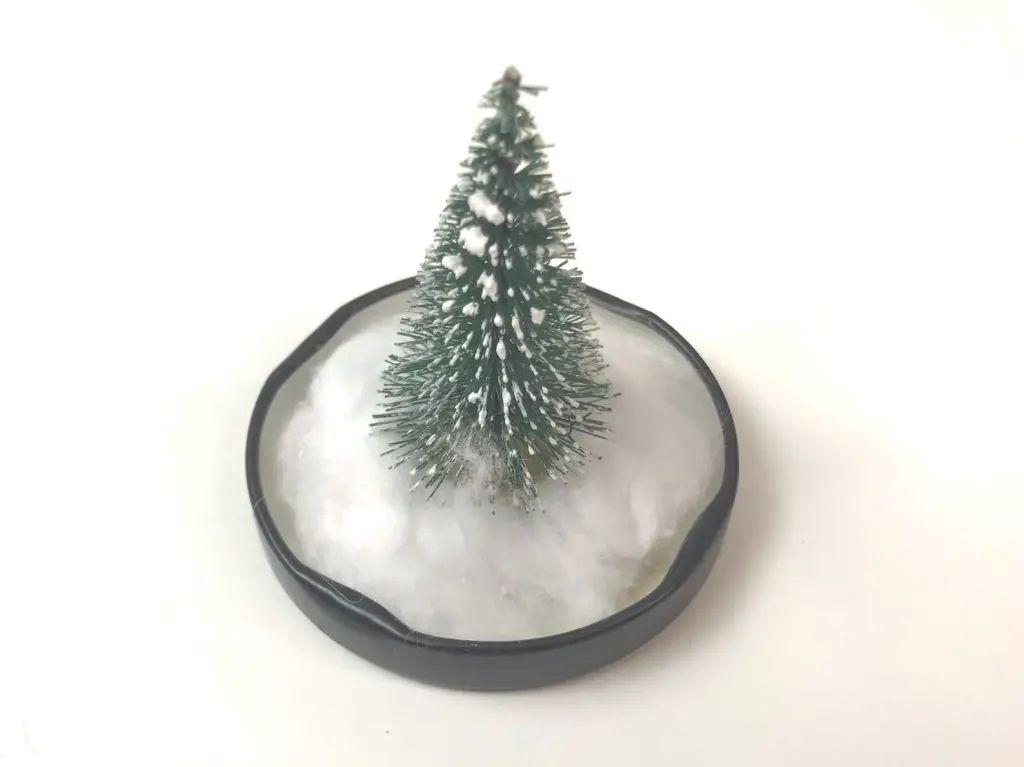
Then simply glue your cotton wool in place to look like snow lying on the ground. How much you add is up to you but make sure you can screw the lid onto the jar.
Now take the jar and add some fake snow (and glitter if you are using it). You can buy fake snow or shave some small pieces of polystyrene off some old packaging. Do not add too much or you will swamp your Christmas scene.
Screw the lid onto your jar and shake. If there is too much snow simply open the jar back up and tip a little bit out. If you want your snow globe to be sealed then simply add some glue to the screw thread on the jar before closing it.
Once you are happy with it you are finished unless you want to embellish it.
Tips for Embellishing your Homemade Snow Globe
- Glue a ribbon around the edge of the jar lid to cover it.
- Add pen dots (silver or white) to the jar to look like snow
- Add a festive bow to the top of the snow globe (bottom of the jar)
- Add a festive bow to the front of your snow globe on the edge of the jar lid
More Winter Themed Crafts
As promised earlier in the article here are some more fabulous winter themed crafts. If you are looking for more Christmas craft projects then take a look at my Christmas section.
As promised, here are all the fabulous winter themed projects included in the December Sustainable Craft Challenge:
- Plastic Bottle Snowman
- Winter Mittens Door Hanger
- Upcycling a Metal Can into Winter Scenery
- Upcycled Block Shelf Sitter
- Crochet Snowman Ornament
- Friendsmas Fizzy Soaking Salt


I love these. My daughter saves her baby food containers for me now! I’m looking forward to making some of these!
Great idea – to use baby food containers!
I love how this turned out. I am always looking for new ways to reuse my glass jars. Very cute, and such an easy DIY craft. Thank you for sharing.
Stephanie|Crazy Little Love Birds
I know what you mean about reusing glass jars! I can only make so much jam and chutney in them.
Oh, how pretty! I already have quite a few glass jars and these would be a lovely addition to my Christas vignettes! pinning -Marci @ Old Rock Farmhouse
So glad you like them.
How cool is this! What a fun craft to do! I love that you can easily customize the snow globe to suit the occasion! Thanks for sharing and happy holidays!
Thank you and happy holidays to you too!
You snow globes are really cute! This is such a great project for reusing small glass jars. I have a couple stashed away, and now I want to use them to make a snow globe of my own.
They are so quick and easy!